
Drip irrigation is considered the best irrigation to be able to optimize the amount of water used and I spread the water evenly for all the crops. The existence of this type of irrigation was a revolution for agriculture. However, installing a system of this size can be complex and expensive for home gardens. For this, there is a homemade drip irrigation with drum to do it at home.
In this article we are going to teach you how to make a homemade drip irrigation with a drum, what materials you need and what advantages it has.
Advantages and disadvantages of drip irrigation

This type of money has some advantages and disadvantages that we will see below. These are the advantages:
- It is suitable for amateurs and professionals.
- Optimized to the last drop
- Easy to install and use
- It can save a lot of watering time that can be spent on other things
- Can be repaired for years after installation
But it also has some disadvantages such as the following:
- To install it you have to spend a few hours
- This type of irrigation is not suitable for all gardens or crops, especially if they require irrigation even on a large surface.
- There is some ongoing maintenance
Home drip irrigation system with drum
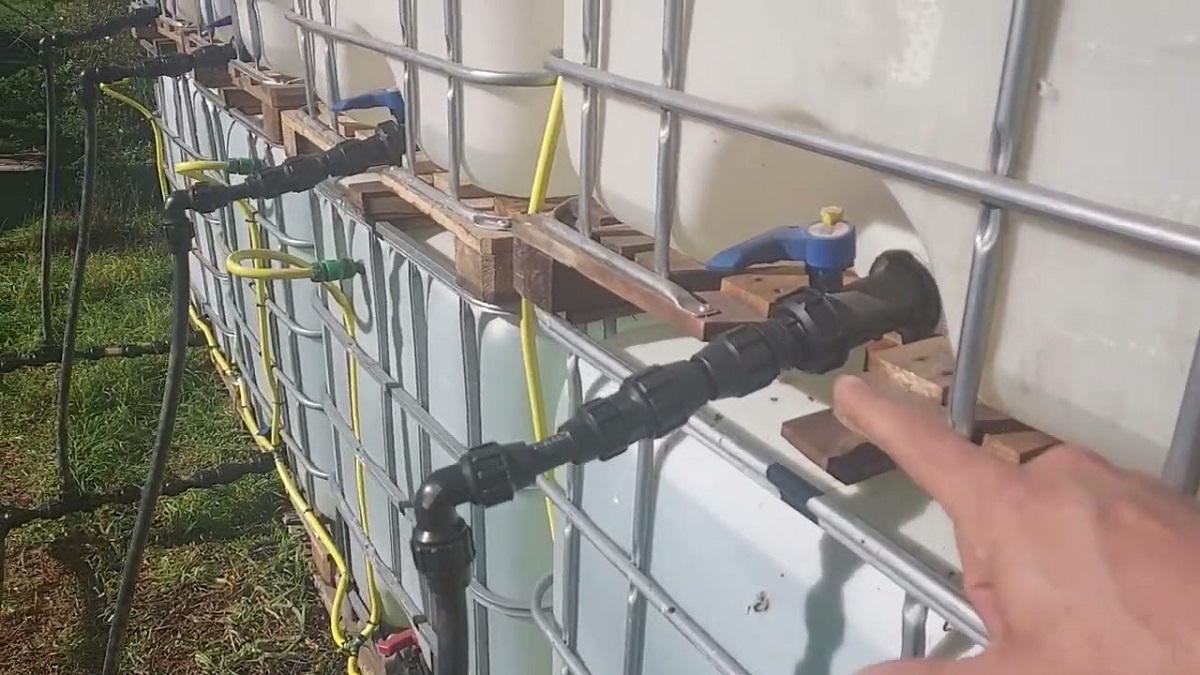
The first thing to do is find a bidón de 1000 liters. This can be new or used, as long as it is in good condition, but new is usually quite expensive. After seeing that there is no water leak, the most important thing is to pay attention to the water outlet, this must be screwed to add fittings to remove the water without leaks. Usually this outlet hole is 2 inches, but it doesn't matter if you have another size, there must be parts of that size to connect and get the water out.
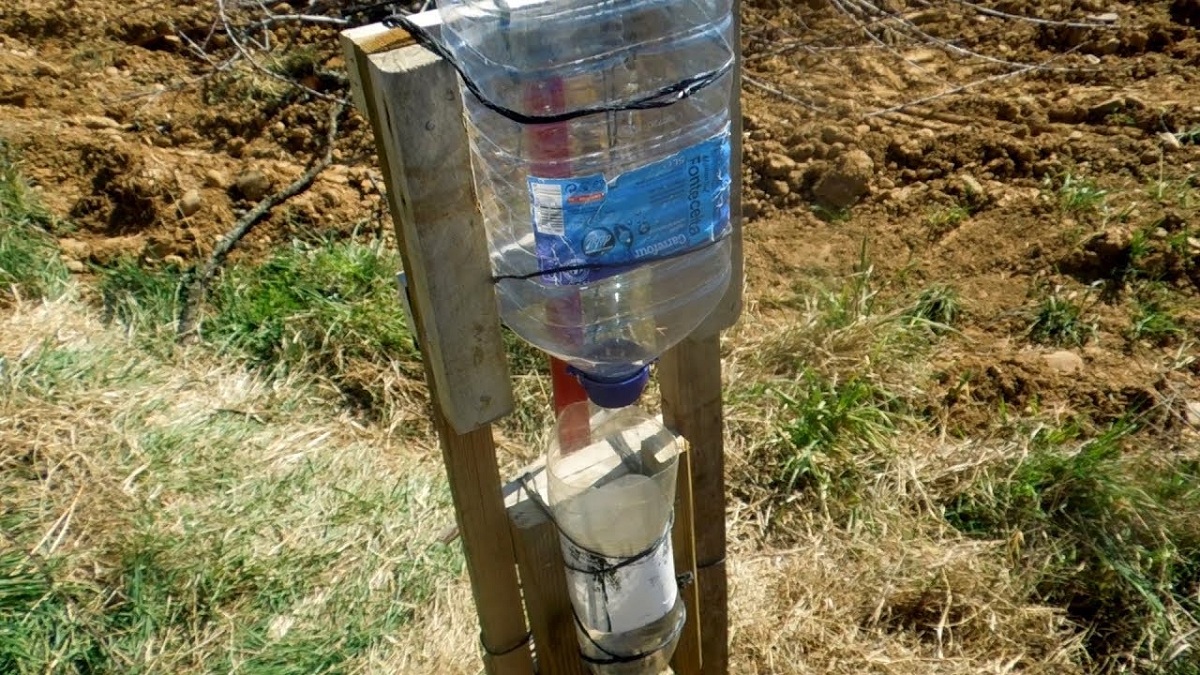
Once we have the drum on the ground where we want to install the drip irrigation, we have to settle the space where we want it to be. We try that the drum is slightly above the irrigation area, at least 50 cm higher. It can be placed in the upper part of the land, or it can be raised with concrete blocks, pallets or whatever comes to mind so that the water has more pressure, in addition to the 1000 liters of water already stored.
irrigation adapter
Once we have the drum fully attached, we need to figure out how to go from 2 inches (5cm) at the drum outlet to 16mm for the drip hose. Most useful in this case is a faucet with a 2″ jerrycan adapter and a 3/4 faucet outlet to connect a drip hose adapter.
Irrigation timer
If you are one of those who cannot always be present to activate the irrigation cut-off, there are a variety of irrigation timers. But what interests us it is an irrigation timer that works at 0 bar pressure. The beauty of these devices is that you can schedule watering almost any way you like. 2 times a day, 1 time every 2 days, 2 times a week or whatever comes to mind.
The installation is very simple, for the case that we are talking about we are interested in the water inlet having a 3/4 connector screwed on the tap, and the water outlet also having a 3/4 screw on the hose. For any other situation, there is also the option to adjust the watering timer one way or another. Its operation is not complicated, follow the steps to set the watering time and the next time, and the timer will simply turn the water flow on and off.
Some timers only open the flow of water when there is enough pressure, such as in a tap connected to a hydraulic network. They usually have 2 to 3 bar. If this is your case, fine, if not, be careful when buying.
drip adapter
You will need a drip adapter with or without a watering timer. In this case, normally the side with the female thread (the thread goes inside) is 3/4 to connect to the timer or tap that we put on the drum and the side that we connect to the 16 mm irrigation hose.
Manguera
A common drip irrigation hose is 16mm. This connects directly to the adapter that we put on the timer or on the faucet. To connect it, you must squeeze the hose into the connector by hand. The hose is made of plastic and can be buried without problems, leaving everything more hidden and tidy. What cannot be buried is the area where we are going to put the dropper, unless it is a hose that fits.
In addition to the hose where we introduce the dropper, we also have a hose that already contains them. It is more convenient to install, the distance between the drippers is predefined, although normal drippers can be introduced like the previous hose, to complete those that have come.
You can also find filtration hoses. This one is also easy to install and can be buried and pumped everywhere like it's breaking a sweat.
16mm hose fittings
To expand the possibilities of this hose, we will see below different very useful sections:
- Elbow: Because this irrigation hose can't be bent 90 degrees because the water doesn't get through, we have what is called an elbow, which is a small L-shaped piece. You have to make sure they are 16mm in diameter like the hoses. To place them you have to cut the hose where you want the elbows and insert your hands into the ends of the hose so that you can make sharp turns without difficulty.
- T: If we want to get different branches to split the irrigation hose in two, we have a tee. This is a tee, it also needs to be 16mm to cut the hose and press the end of the hose into its three holes. If we need to connect two 16mm hoses, we can use hose fittings
- Valves: If there are several branches to remove, it may be interesting to consider placing a valve to turn the irrigation on and off for each branch. Because at certain times of the year you may not be interested in watering an area, it's as easy to forget about it as it is to turn off the valve.
- End Plugs: to close the circuit in each branch we have plugs, plug them in you have to do it by pressing, from experience I can tell you that they are more difficult than the other connectors that I have described, so if you want to start with an easy and cheap way to do it, you can double the hose and use the flange to bend it.
I hope that with this information you can learn more about homemade drip irrigation with a drum and how to do it.